Beginner Computer Vision: Episode 6
You can retrieve data produced in any runs, from any compute environment, using the Metaflow client API in whatever downstream application you want. Another use case for the API is ad-hoc testing. In this episode, you will see how to access the best model trained in your TuningFlow with the client API and use the model to make a prediction.
1Write a Prediction Flow
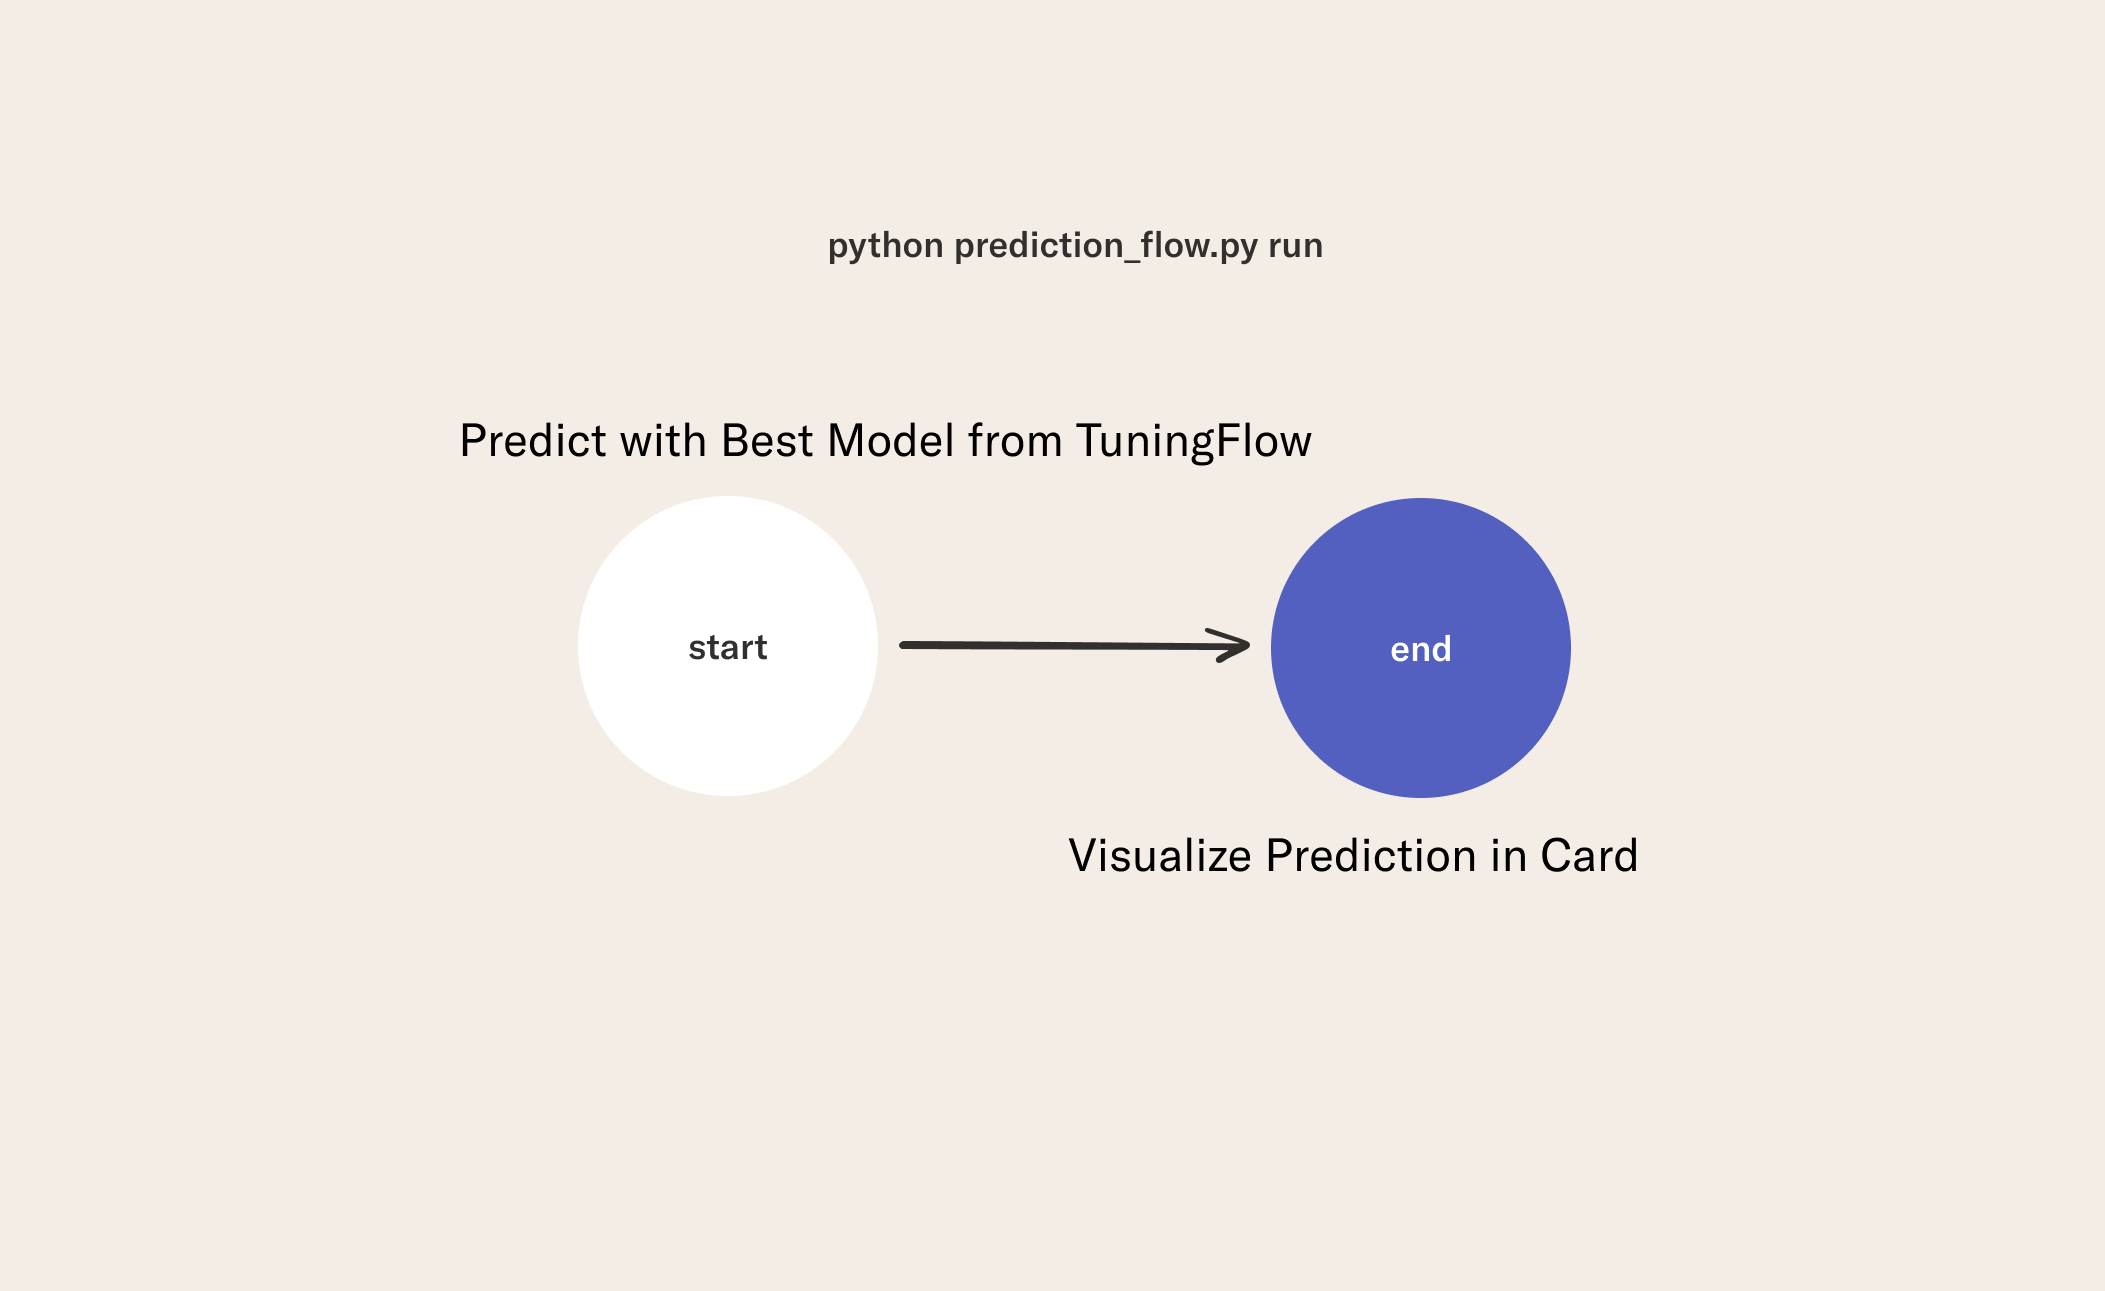
This flow shows how you can:
- Access the latest
TuningFlowthat has been tagged withproduction. - Use the
best_modelfrom that flow run to make a prediction on a test image. - Produce a card showing the true label, the predicted label, and the probabilities for each target class.

from metaflow import FlowSpec, step, Flow, Parameter, current, card
import numpy as np

class SinglePredictionFlow(FlowSpec):

    upstream_flow = Parameter('flow', default = 'TuningFlow')
    image_location = Parameter('im', default = './mnist_random_img.npy')

    @step
    def start(self):
        from tensorflow import keras
        softmax = keras.layers.Softmax()
        run = list(Flow(self.upstream_flow).runs('production'))[-1]
        self.model = run.data.best_model
        with open(self.image_location, 'rb') as f:
            self.image = np.load(f)
        self.logits = self.model.predict(x = np.array([self.image]))
        self.probs = softmax(self.logits).numpy()
        if np.isclose(1, np.sum(self.probs)):
            self.pred = self.probs.argmax()
        else:
            self.fallback_model = "Random Guess"
            self.pred = np.random.randint(low=0, high=9)
            print("{}/{} probabilities not adding to 1".format(
                self.__class__.__name__, current.run_id))
            print("Returning random fall back prediction")
        self.next(self.end)

    @card
    @step
    def end(self):
        import matplotlib.pyplot as plt
        from metaflow.cards import Table, Markdown, Image
        self.im_fig, self.im_ax = plt.subplots()
        self.im_ax.imshow(self.image, cmap='gray')
        im1 = Image.from_matplotlib(self.im_fig)
        md = Markdown("# Prediction: {}".format(self.pred))
        self.dist_fig, self.dist_ax = plt.subplots()
        self.dist_ax.barh(y=np.arange(
            self.probs[0].shape[0]), width=self.probs[0])
        self.dist_ax.set_yticks(
            np.arange(self.probs[0].shape[0]),
            labels=np.arange(self.probs[0].shape[0])
        )
        self.dist_ax.set_ylabel('Probability', fontsize=18)
        im2 = Image.from_matplotlib(self.dist_fig)
        current.card.append(Table([[im1, md, im2]]))

if __name__ == '__main__':
    SinglePredictionFlow()
2Choose a Test Data Sample
To test the SinglePredictionFlow, you can save an image with NumPy's .npy file extension like mnist-random-img.npy.
Then, pass the filename to a SinglePredictionFlow run and get a prediction from the latest TuningFlow model tagged with production.
from tensorflow import keras
import numpy as np
((x_train, y_train), (x_test, y_test)) = keras.datasets.mnist.load_data()
random_idx = np.random.randint(x_test.shape[0])
with open('./mnist_random_img.npy', 'wb') as f:
    np.save(f, x_test[random_idx])
3Run the Prediction Flow
python prediction_flow.py run --im './mnist_random_img.npy'
4Monitor Your Model
Now you can look at the results of the prediction. You could use the client API as shown in the previous episode.
In this case, you appended a Metaflow card to the end step of SinglePredictionFlow, so you can view the resulting visualization with this command:
python prediction_flow.py card view end
Conclusion
Congratulations, you have completed Metaflow's introductory tutorial on computer vision workflows! You have learned how to:
- Create a flow that tracks and enables a comparison between machine learning models.
- Visualize results of model training and prediction.
- Use branching to perform steps in parallel.
- Use tagging to evaluate and gate models for production.
- Retrieve your model from another flow for prediction.
To keep progressing in your Metaflow journey you can:
- Check out the open-source repository.
- Join our Slack community and learn with us in #ask-metaflow.